What lies beyond the fertile ground is a purple root vegetable filled with valuable nutrition and detoxifying properties that every single person on this planet can surely love!It's time to
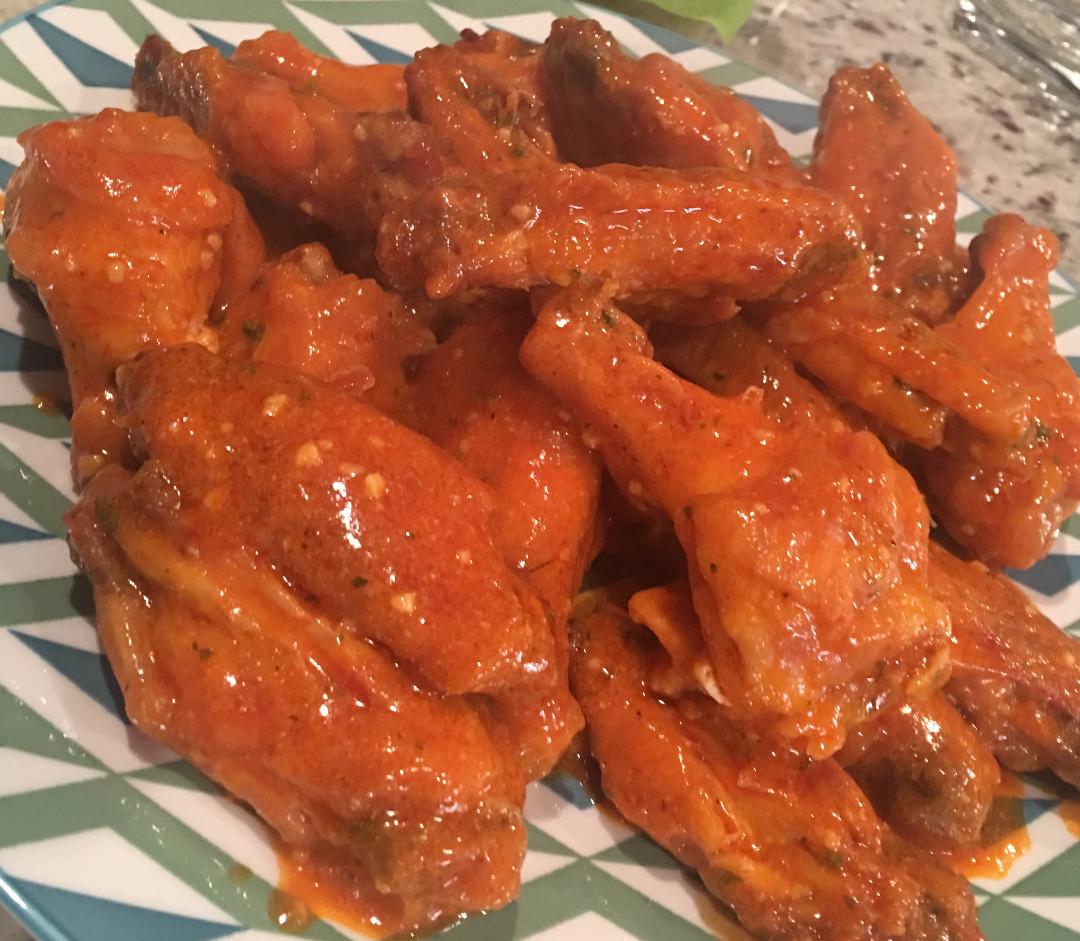
Ya'll this paleo recipe is soooo good. If you want that buffalo chicken feel without the guilt of fried food, dairy, or gluten this will be your new jam.
This adorable and bright fruit is rich in flavor and nutritional value and its flavor range from sweet to sweet-tart depending on the varietal. The best way to consume fresh
Who says
you can’t have
your wings and eat them too? With
football games and colder days I wanted to create a healthier version that
would also be detox friendly for those who still